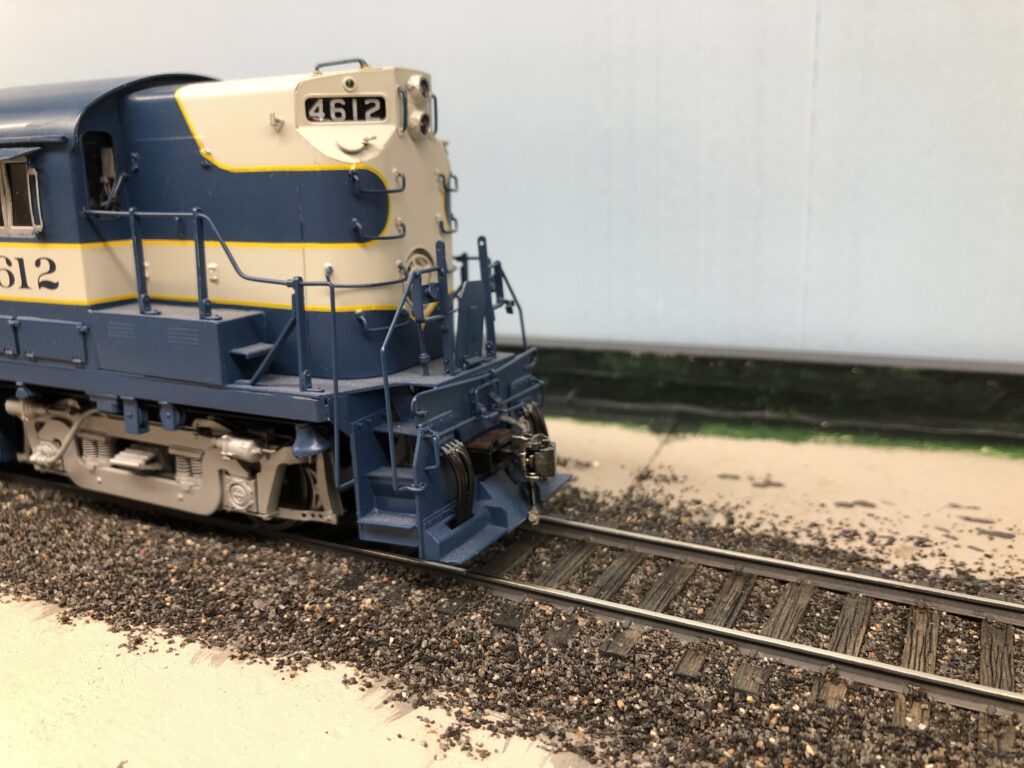
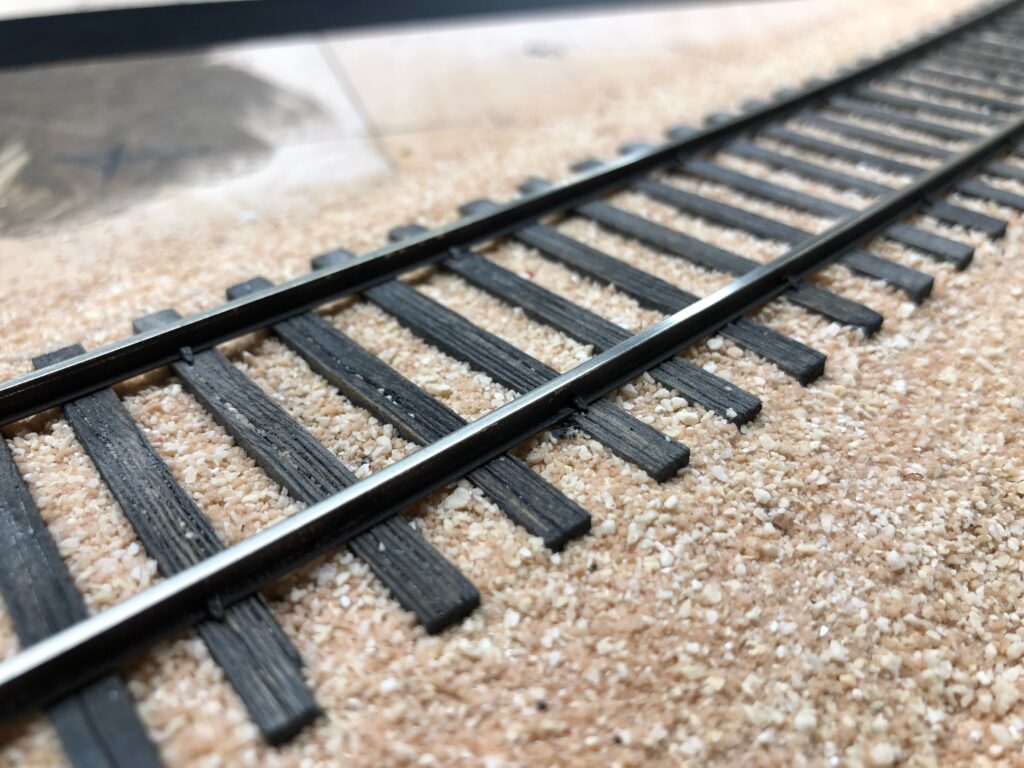
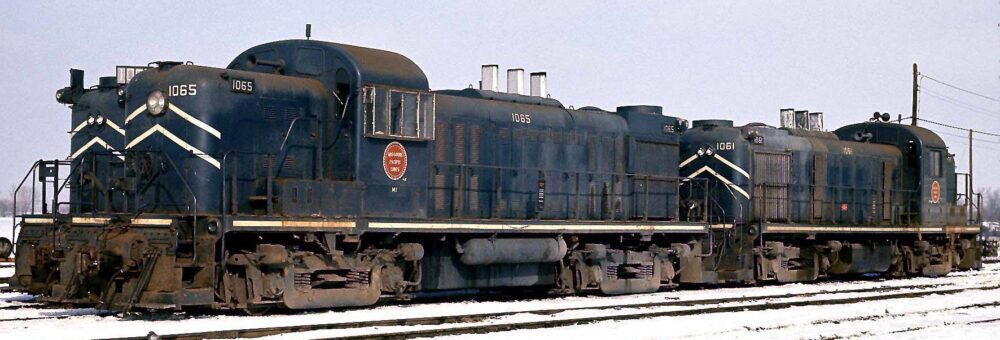
I have found that methods for staining and weathering ties varies among modelers, and that is a good thing. Like many aspects of this hobby, there is no singular method for doing anything, particularly when it comes to weathering. Learning from a variety of methods help us hone our skills. Prototypical ties vary based upon the locale and the degree to which they are maintained and replaced. My protoype is a midwest branch line which bears the full spectrum of weather extremes from the bitter cold and ice in the winter to long humid hot summers where temps can eclipse 90 degrees for weeks at a time.
Ties bake in the sun and fade, discoloring to a light gray, with random browns and blacks. Occasionally, creosote bubbles from the cracks in the heat. Rarely would one see a newer, darker tie with fresh creosote on the M-I.
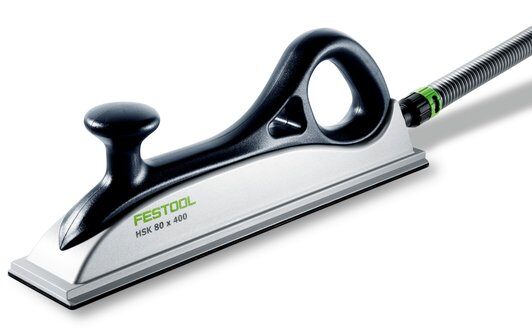
The P:48 M-I’s ties are cut by Jay Criswell (Right-O-Way) from sugar pine and measure a scale 7” x 9” and 8’-6” in length. The ties are attached to the Homasote roadbed with yellow carpenter’s glue. After the glue dries overnight, I make a light pencil mark down the middle of the ties. This provides an indication when sanding that a flat bed is ready for laying rail. Use a long sanding block to achieve a flat bed with little chance of creating a low spot. I have found that Festool’s Sanding Block HSK-A measuring 400mm long fits the bill – it’s plenty long for me and it attaches to their dust extractor to keep dust at a minimum. 120 grit sand paper “erases” the center pencil line in short order. Upon completion, I verify flatness with an aluminum straightedge. If any high spots are evident, now is the time to address them with a bit more sanding.
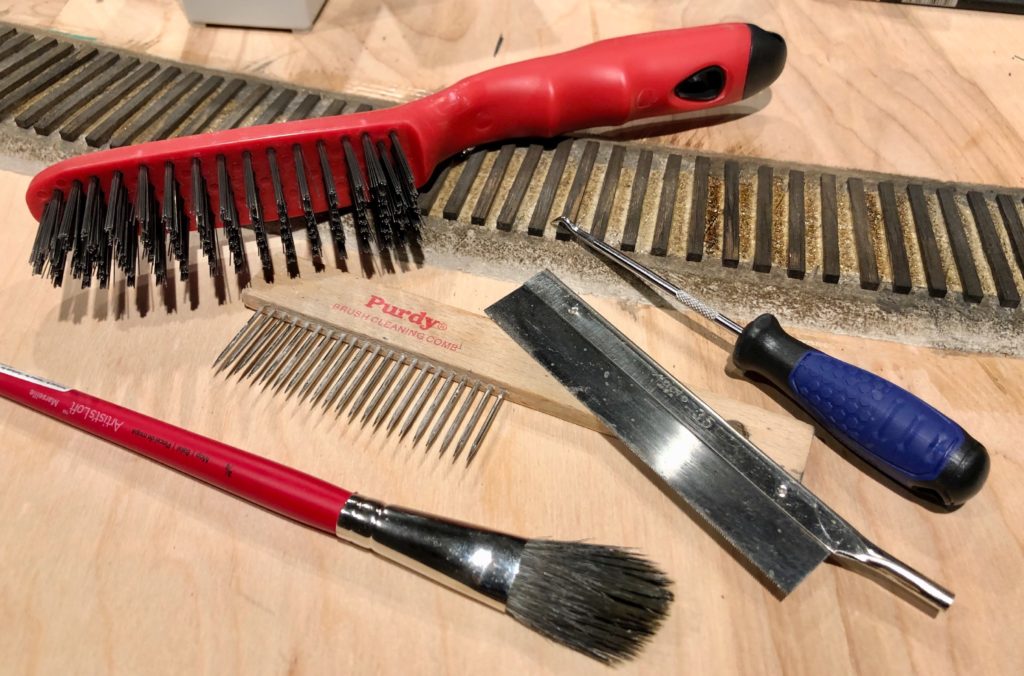
After leveling, the ties are ready for distressing – I use a variety of tools to create deep grain, cracks and mimic splitting ties. An old X-acto #35 razor saw pulled sideways produces the basic grain pattern – random ties are then scribed and gouged with various tools including a steel wire brush, a Purdy wooden-handle brush comb and various sharp probes.
Following distressing, a quick touch up with the sanding block takes care of obvious splinters. A final vacuuming prepares the ties for staining.
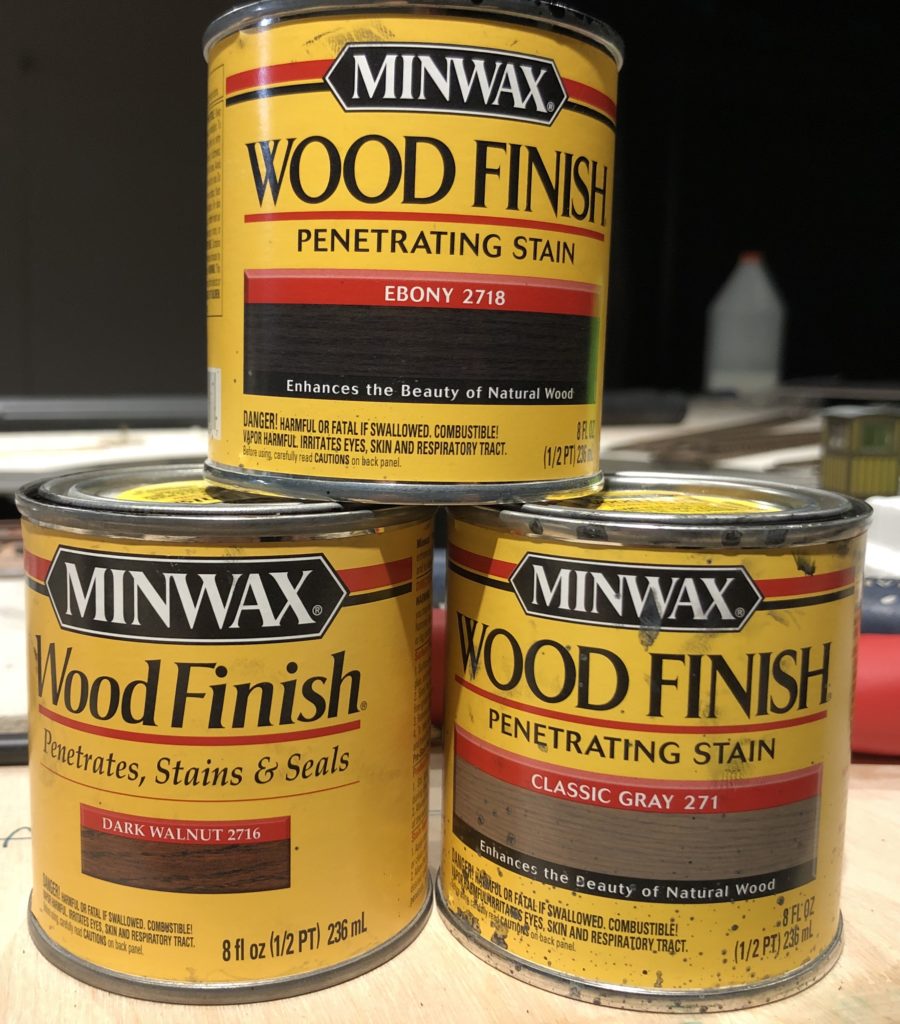
I use three colors of Minwax stains applied with an old brush: Classic Gray #271, Ebony #2718 and Dark Walnut #2716. Why those three? The gray mimics old ties very well after they have faded. The Ebony and Dark Walnut add hints of black and brown. Remember, this is not rocket science and there is no need to clean the brush between colors. It helps to even out the tones better. Furthermore, some ties get a base of gray, others may get Ebony or Walnut first. Experiment – I probably have not done two sections the same yet. Don’t worry if the colors are uneven – they are not supposed to be!
Tip: wear old clothes when staining – ask me how I know… Once the ties dry overnight, they are ready for ballasting.
